Accessing Custom Attributes Obtained from a Custom SQL Sync Query in an ITSM System
App Portal 2020 R1
After you perform a custom SQL sync query, you can access the additional Active Directory attributes that you obtained during the sync by creating custom variables, either globally or per catalog item. Custom variables are available for use in custom script commands, external web actions, and ITSM calls.
To pass the value of an Active Directory attribute obtained during a custom SQL sync query into an ITSM call, perform the following steps.
To pass the value of Active Directory attribute obtained during a custom SQL sync query into an ITSM call:
| 1. | On the Admin tab, open the Catalog Management > Catalog > Custom Variables view. |
Note:You also have the option of adding custom variables to an individual catalog item on the Custom Variables tab of the Catalog Item Properties dialog box.
| 2. | Click Add New Variable. A dialog box opens prompting you to define the variable. |
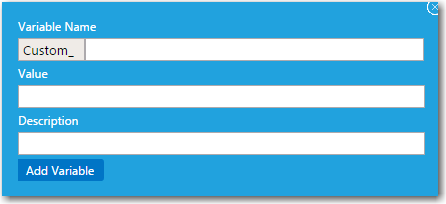
| 3. | Enter the following information to define the custom variable: |
| • | Variable Name—Enter any user-defined name. |
| • | Value—Enter the value of an Active Directory attribute that you have synced as part of a custom SQL sync query. |
| • | Description—Enter a description of the variable and its value. |
For example:
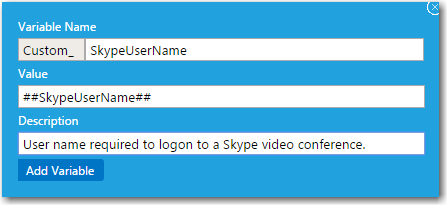
Note:A prefix of Custom_ is automatically added to the Variable Name.
| 4. | Click Add Variable to save the variable. |
| 5. | Open the Site Management > ITSM Integration view. |
| 6. | Click on a name in the System Name column. The list of operations for that system opens. The following is a list of operations associated with the ServiceNow - Create Incident Management Service. |
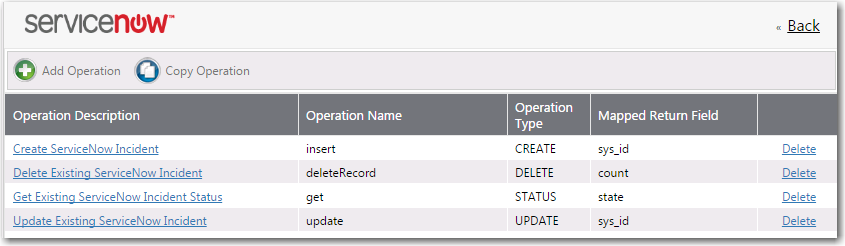
| 7. | Click on an operation name in the list, such as Create ServiceNow Incident or Create Remedy Incident. The Configure Operation view opens. |
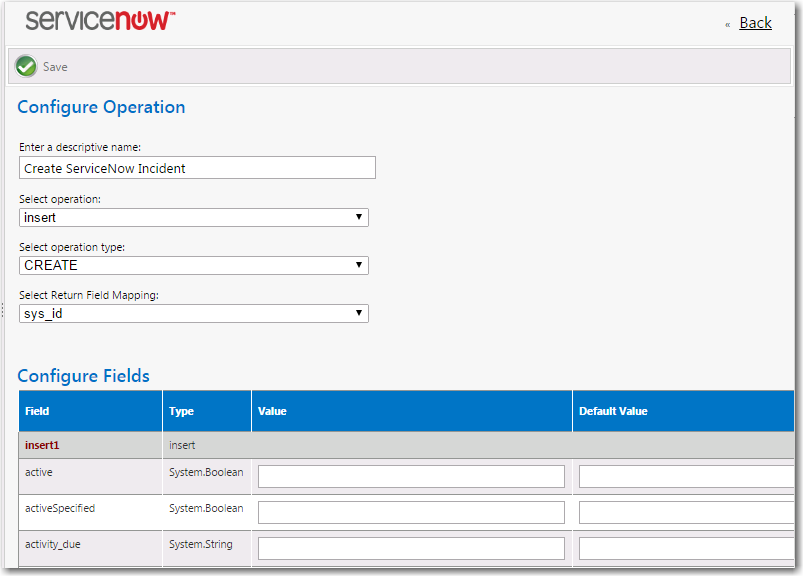
| 8. | In the Value and/or Default Value column of the field where you want to use the custom variable, enter text containing the custom variable enclosed in ##, such as: |

When this field is resolved in the ITSM system, the value of this custom variable will be displayed.
| 9. | Click Save. |
App Portal / App Broker 2020 R1 Administration GuideAugust 2020 |